Monthly Archives: January 2013

Chicken Salad

While I avoid a lot of food because of my allergies, there are 3 foods that I won’t include in recipes because I hate them.  I’m not a picky eater at all but I absolutely will not eat: 1) olives, 2) celery, or 3) raisins.  Ants on a log snack day at school when I was young was especially awful!

I avoided chicken salad most of my life because it almost always contains at least one, if not 2, of my hated foods.  I’m also not much of a fan of mayo.  So I set out to create a chicken salad recipe several years ago that I actually liked and I have to tell you, it’s one of my favorites.  It’s not only allergy friendly, it’s very healthy too.  A perfect lunch on lettuce or sandwiches!

IMG_1333

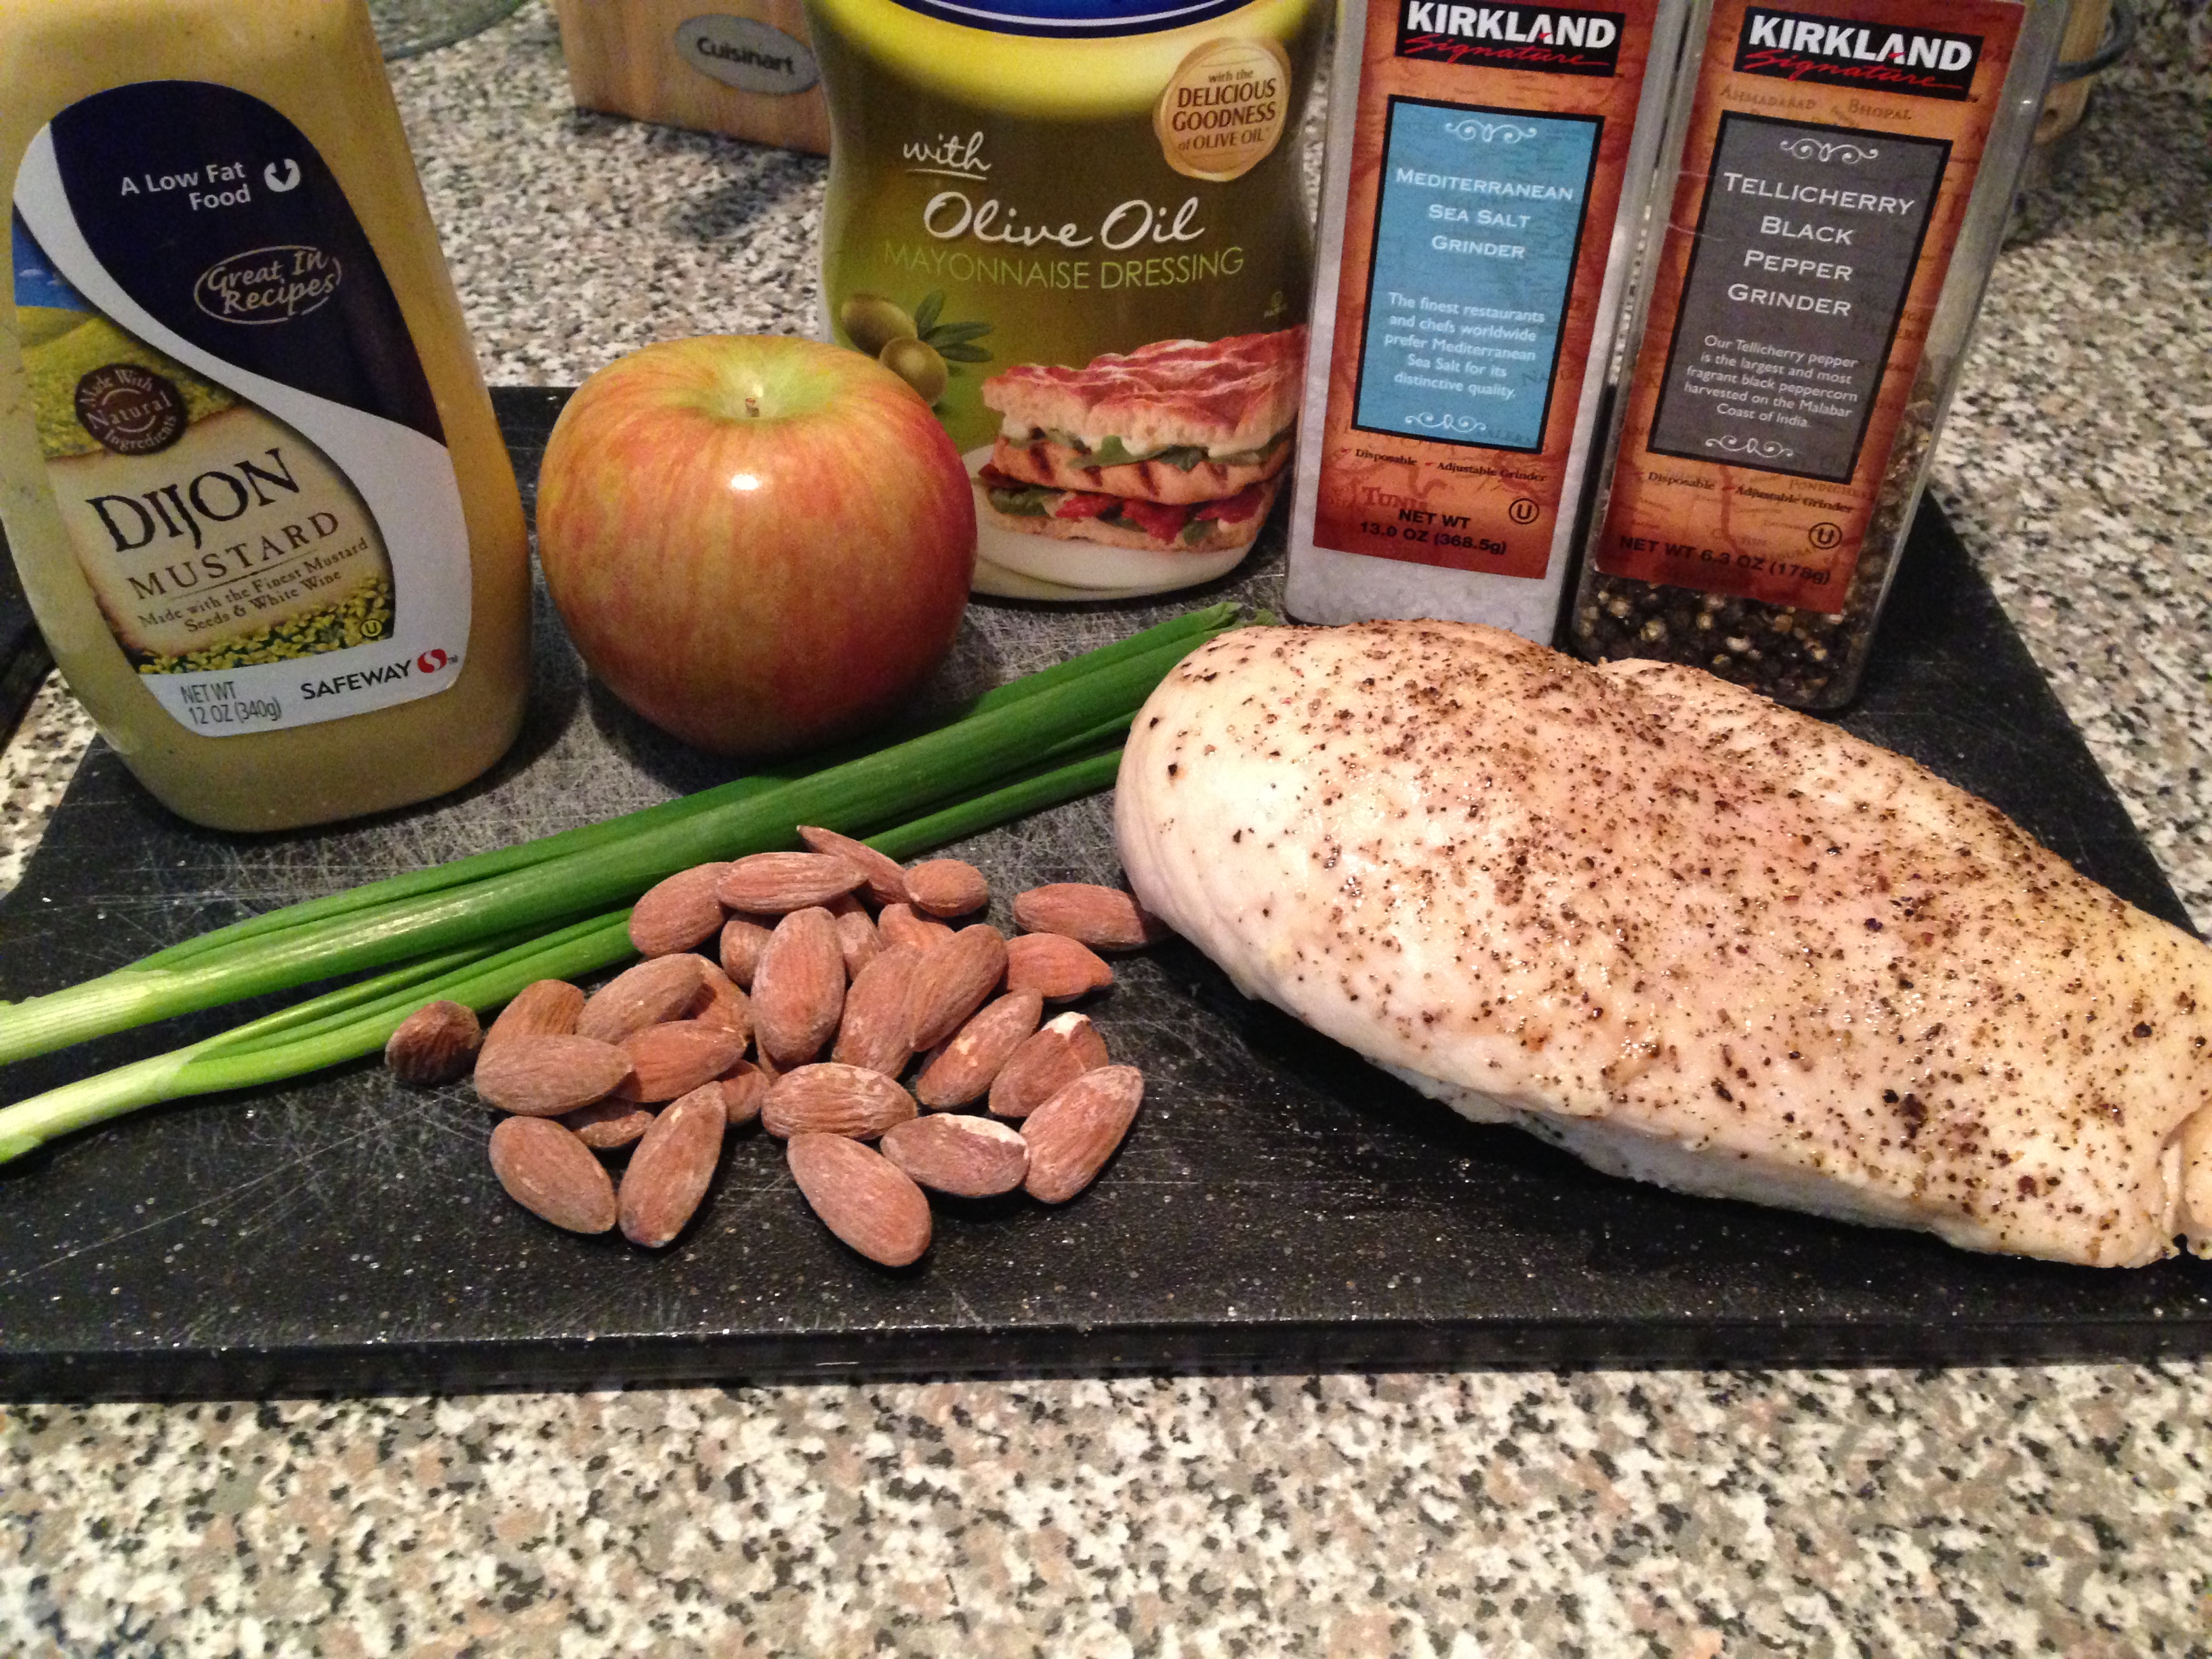
1 large chicken breast
1/4 cup roasted almonds
1 apple (fuji, gala, whatever is on sale that isn’t too sweet or tart)
1 tbsp dijon mustard
1 tbsp vegan mayo
3-5 stalks green onion
olive oil
splash of lime juice
salt & pepper to taste

First, you’ll need to roast your chicken.  Preheat your oven to 375 and pat the chicken breast dry with a paper towel.  Coat with a thin layer of olive oil and salt and pepper on both sides.  Roast on a baking sheet for 35-40 minutes then let cool while you chop the rest of your ingredients.

IMG_1336

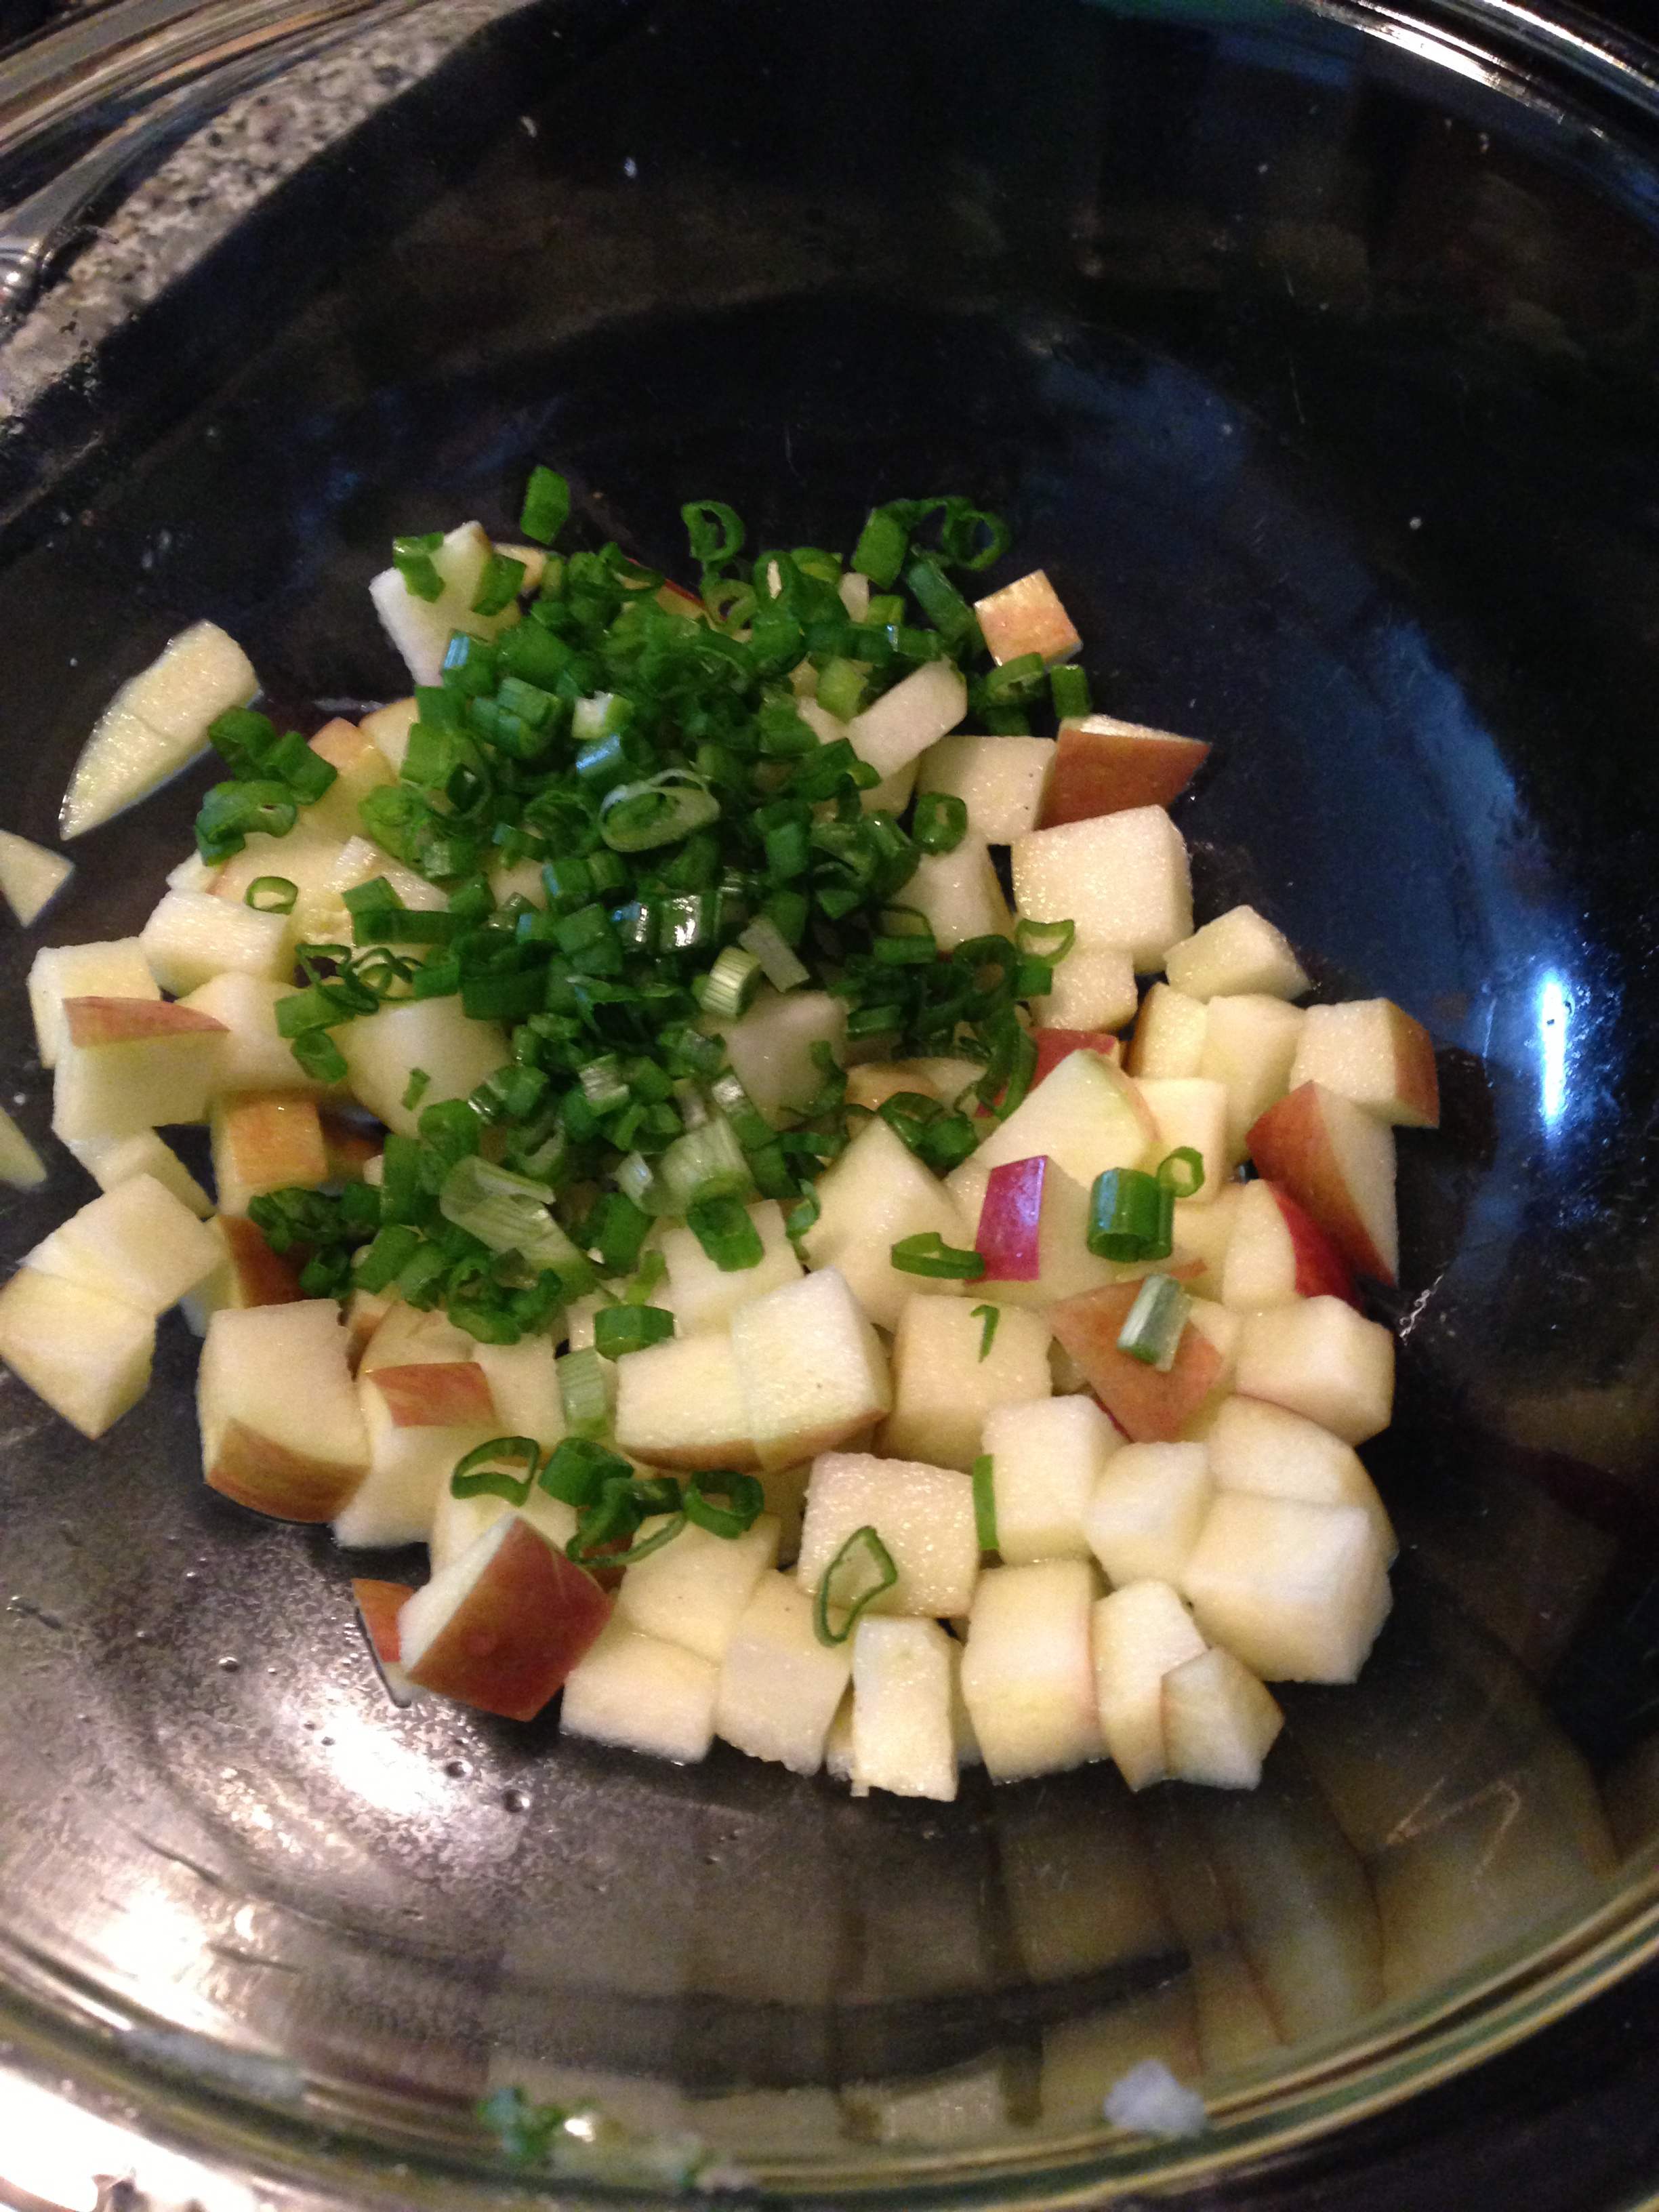
Chop the apple into cubes then place in a bowl and coat with a splash of lime juice to prevent browning. Chop the green onions into slivers (mainly green parts) and roughly chop the almonds.

IMG_1338

Slice the chicken breast in half lengthwise then cut into cubes.  Combine all chopped ingredients in bowl.

IMG_1340

Add the mustard, vegan mayo, and salt and pepper and mix well.

IMG_1342

Serve on a sandwich or on a salad, I like to add tomatoes and avocado to the salad as well.  This keeps really well for several days in the fridge so you can make a big batch and have it for a few days.

IMG_1348

Enjoy!

Mushroom Risotto

Cooking can be therapeutic and this dish is a great one for a cold fall or winter day when you have a lot on your mind.  Just grab some wine and a wooden spoon and stir for 45 minutes or so and you will have a rich, comforting meal to warm you up.  It’s also a very impressive dish to serve at a dinner party, if you have the time and energy to make it for guests.  Risottos can be intimidating to prepare but as long you as you follow the steps in order, you will be fine.  I found them to be much easier than I expected originally and that’s from a girl whose cooking nemesis is, and always will be, rice.

Allergy info: This recipe is gluten free.  I do use Sheep’s milk cheese but it is just as good without it, so for a truly dairy free dish omit the Pecorino Romano.  For a vegan version, omit pancetta & pecorino and use mushroom broth instead of chicken.  Also, this dish can be a bit pricy so I have put less expensive substitutes in parentheses by ingredients that can be changed.  This meal will still be delicious!

IMG_1280


This picture has a few extra ingredients in it since the last time I made this was for Christmas dinner with my family.  Anyone who gives me a Le Creuset pot for Christmas has earned themselves a homemade risotto!  To make risotto you will need:

1/2 pound of baby portobello mushrooms, stems removed, sliced (don’t use white button!)
4 cups of organic chicken stock, I use low sodium and stock really is better than broth
2 cups of water 
6 tbsp vegan butter (I use Earth Balance sticks)
2 oz diced pancetta (can substitute bacon for a more economical meal)
1/2 cup chopped shallots (can substitute 1/2 cup chopped yellow onions and 2 minced garlic cloves)
1 1/2 cups arborio rice (no substitutes, use arborio)
1/2 cup dry white wine (plus a glass to sip while you stir!)
1/2 tsp saffron threads (can omit if you are on a tight budget)
1 tsp sea salt
1/2 tsp freshly ground black pepper
2/3 cup freshly grated pecorino romano cheese

In a small saucepan, heat the chicken stock and water and bring to a simmer.

In a heavy-bottomed pot or Dutch oven, melt the butter and sauté the pancetta and shallots (or bacon & onion & garlic) over medium-low heat for 5 minutes, stir occasionally.

Add the mushrooms and sauté another 5 minutes, stir occasionally.

Add the rice and stir to coat all of the grains of rice with butter.  Add the wine and cook 2 minutes.

Now the fun part, you are going to be stirring for awhile but it’s fun to watch it come together and even better if you have some company in the kitchen.  Add 2 ladles of chicken stock mixture to the rice and the saffron, salt, and pepper.  Stir and simmer over LOW heat until the stock is absorbed, about 5-10 minutes.

IMG_1282

Once it is absorbed, add 2 more ladles of stock and stir every minute or so.  Cook until the mixture seems a little dry, then repeat this step until all of the stock has been incorporated.  This should take about 25-30 minutes total.  When you are finished the risotto will be thick and creamy and won’t seem dry.

Take the risotto off the heat and stir in about 1/2 cup of pecorino (if you are using cheese).

IMG_1285

Serve immediately with pecorino as a garnish.  Enjoy!

I have a simple, delicious recipe for any risotto leftovers that I will post soon as well.


Jalapeño Poppers

This is one of my favorite recipes.  I love jalapeño poppers but they are so unhealthy and full of cheese and gluten that I really thought I would just give them up completely when my diet changed.  After having success with baked, unbattered chile rellenos though, I decided to try making a version of jalapeños that I can eat and I honestly like them a lot better than the original.  These jalapeño poppers have become a party staple and they freeze really well so I make a big batch and keep them on hand in the freezer for get togethers or as a side with a good steak.  They are a little labor intensive but they are so worth it!  Bonus: they are a lot healthier!  They aren’t fried, there’s no bacon, and I use sheep & goat milk for easier digestion.

IMG_1182

3 oz Sliced Prosciutto (Nitrate free if you can find it)
4 oz Dill & Garlic Goat Cheese (If your store only has regular goat cheese you can make your own.  Let the cheese come to room temperature in a bowl then add some garlic powder and dried dill and mix it well with a fork)
3 oz Manchego Cheese (Spanish sheep’s milk cheese)
10-14 fresh jalapeños

IMG_1186

First, you need to clean your jalapeños (if you are wearing contacts I strongly suggest you take them out for the day before starting this, or wear gloves).  Slice each jalapeño in half lengthwise, it will look like the pepper on the right in the picture above, your goal is to make it look like the pepper on the left.  Use your knife to separate the stem at the top from the seeds and membrane inside and along the edges of the pepper.  I find it easiest to use my fingers to pull the seeds and everything out but you can continue using your knife and spoon if you want to avoid the peppers as much as possible.  The more white membrane you leave, the hotter the pepper will be so if you are looking for a milder flavor you may want to clean it out even more than I did above.

IMG_1191

Once you have cleaned all of your peppers, lay them out on your cutting board or the cookie sheet you will use to bake them.  Slice the manchego cheese into small long blocks, about the size of the bottom of a hollowed out jalapeño and place them in each pepper.

IMG_1194

Now stuff the remaining space in each pepper with goat cheese.  Again, while it’s very messy, I find this easiest to do with my hands but 2 spoons can work if you don’t want to touch the peppers.  As an alternative, you can use only manchego or goat cheese.  The reason I use the 2 cheeses together is I like the creaminess of the goat cheese but it’s a stronger flavor so the 2 balance each other out really well.

IMG_1196

Take each slice of prosciutto and slice into 3 pieces lengthwise, then wrap each strip around one jalapeño half.  Start at the top and wrap around the pepper until you run out of prosciutto.  Push each end of the prosciutto into the goat cheese lightly and it will hold itself in place.

IMG_1198

This is the point at which you separate the peppers you are going to freeze from those you are going to cook.  Place the peppers in the bottom of a tupperware container then place plastic wrap over the first layer and you can stack more on top.  Place plastic wrap between each layer to keep them from freezing together.

IMG_1200

When ready to cook, place the peppers on aluminum foil in a pan or cookie sheet and put in the oven preheated to 375.  If room temperature, cook 10-15 minutes until the cheese is melted and prosciutto is beginning to get crispy.  If frozen, cook about 20 minutes until you get the same result.

IMG_1207

Enjoy!  One last tip: if you plan to take these poppers to a party, make quite a few.  They tend to go really fast!