I forgot to post this when I actually finished but I did the entire Whole 30! By the end of it I felt really good, lost 8 pounds, and changed my relationship with food. I was SO tired of cooking that I honestly didn’t eat as much just because the thought of cooking yet another meal was enough to keep me from eating. I will definitely keep a lot of these habits moving forward though. Following the whole 30 shopping guidelines and meal plans at home for the most part but being able to eat out occasionally would be sustainable for a long time. Overall, I would recommend this plan, definitely one of the best cleanses or detoxes that I have done over the years!
Day 22:
Breakfast – Pork Hash and blueberries
Lunch – Red Curry with Chicken (leftover)
Dinner – Tarragon Cream Chicken with sautéed broccolini
Day 23:
Breakfast – Apple with Almond Butter
Lunch – Tarragon Cream Chicken (leftover)
Dinner – Chili over a baked yukon gold potato
Day 24:
Breakfast –Pork Hash
Lunch – Italian Chicken Stew (made night before)
Dinner – Chili over a baked yukon gold potato
Day 25:
Breakfast – Pork Hash
Lunch –Italian Chicken Stew (leftover)
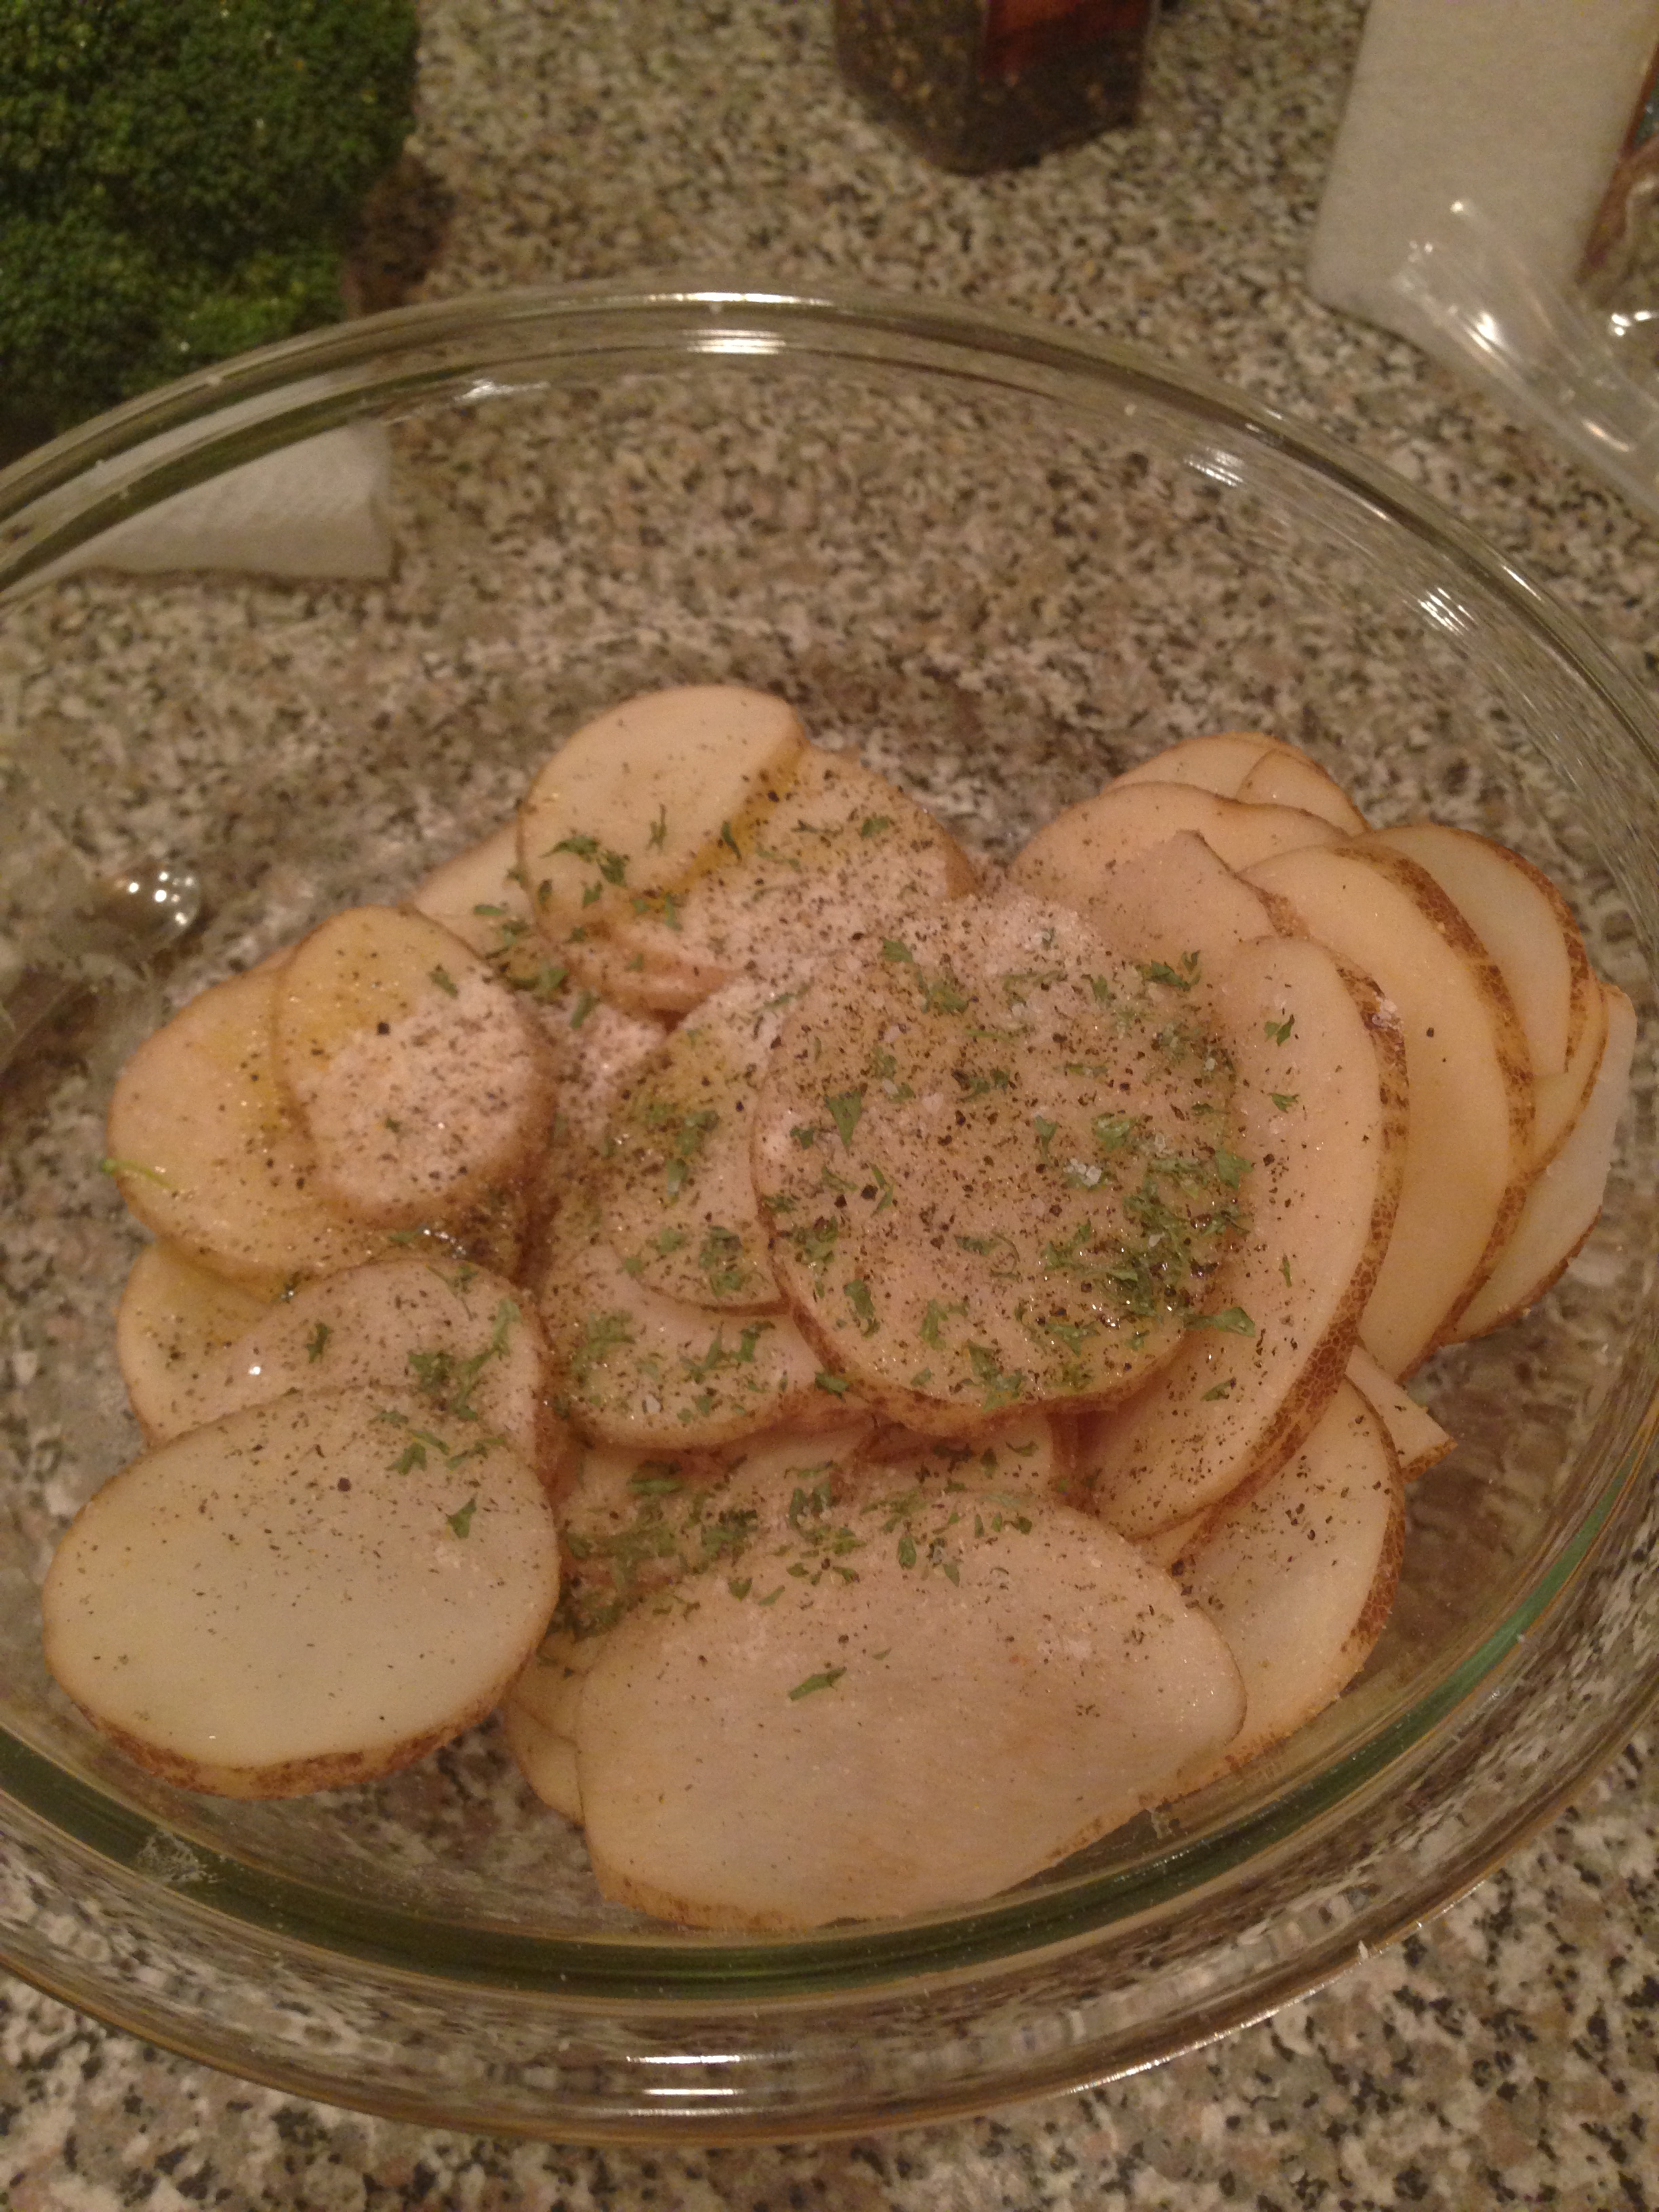
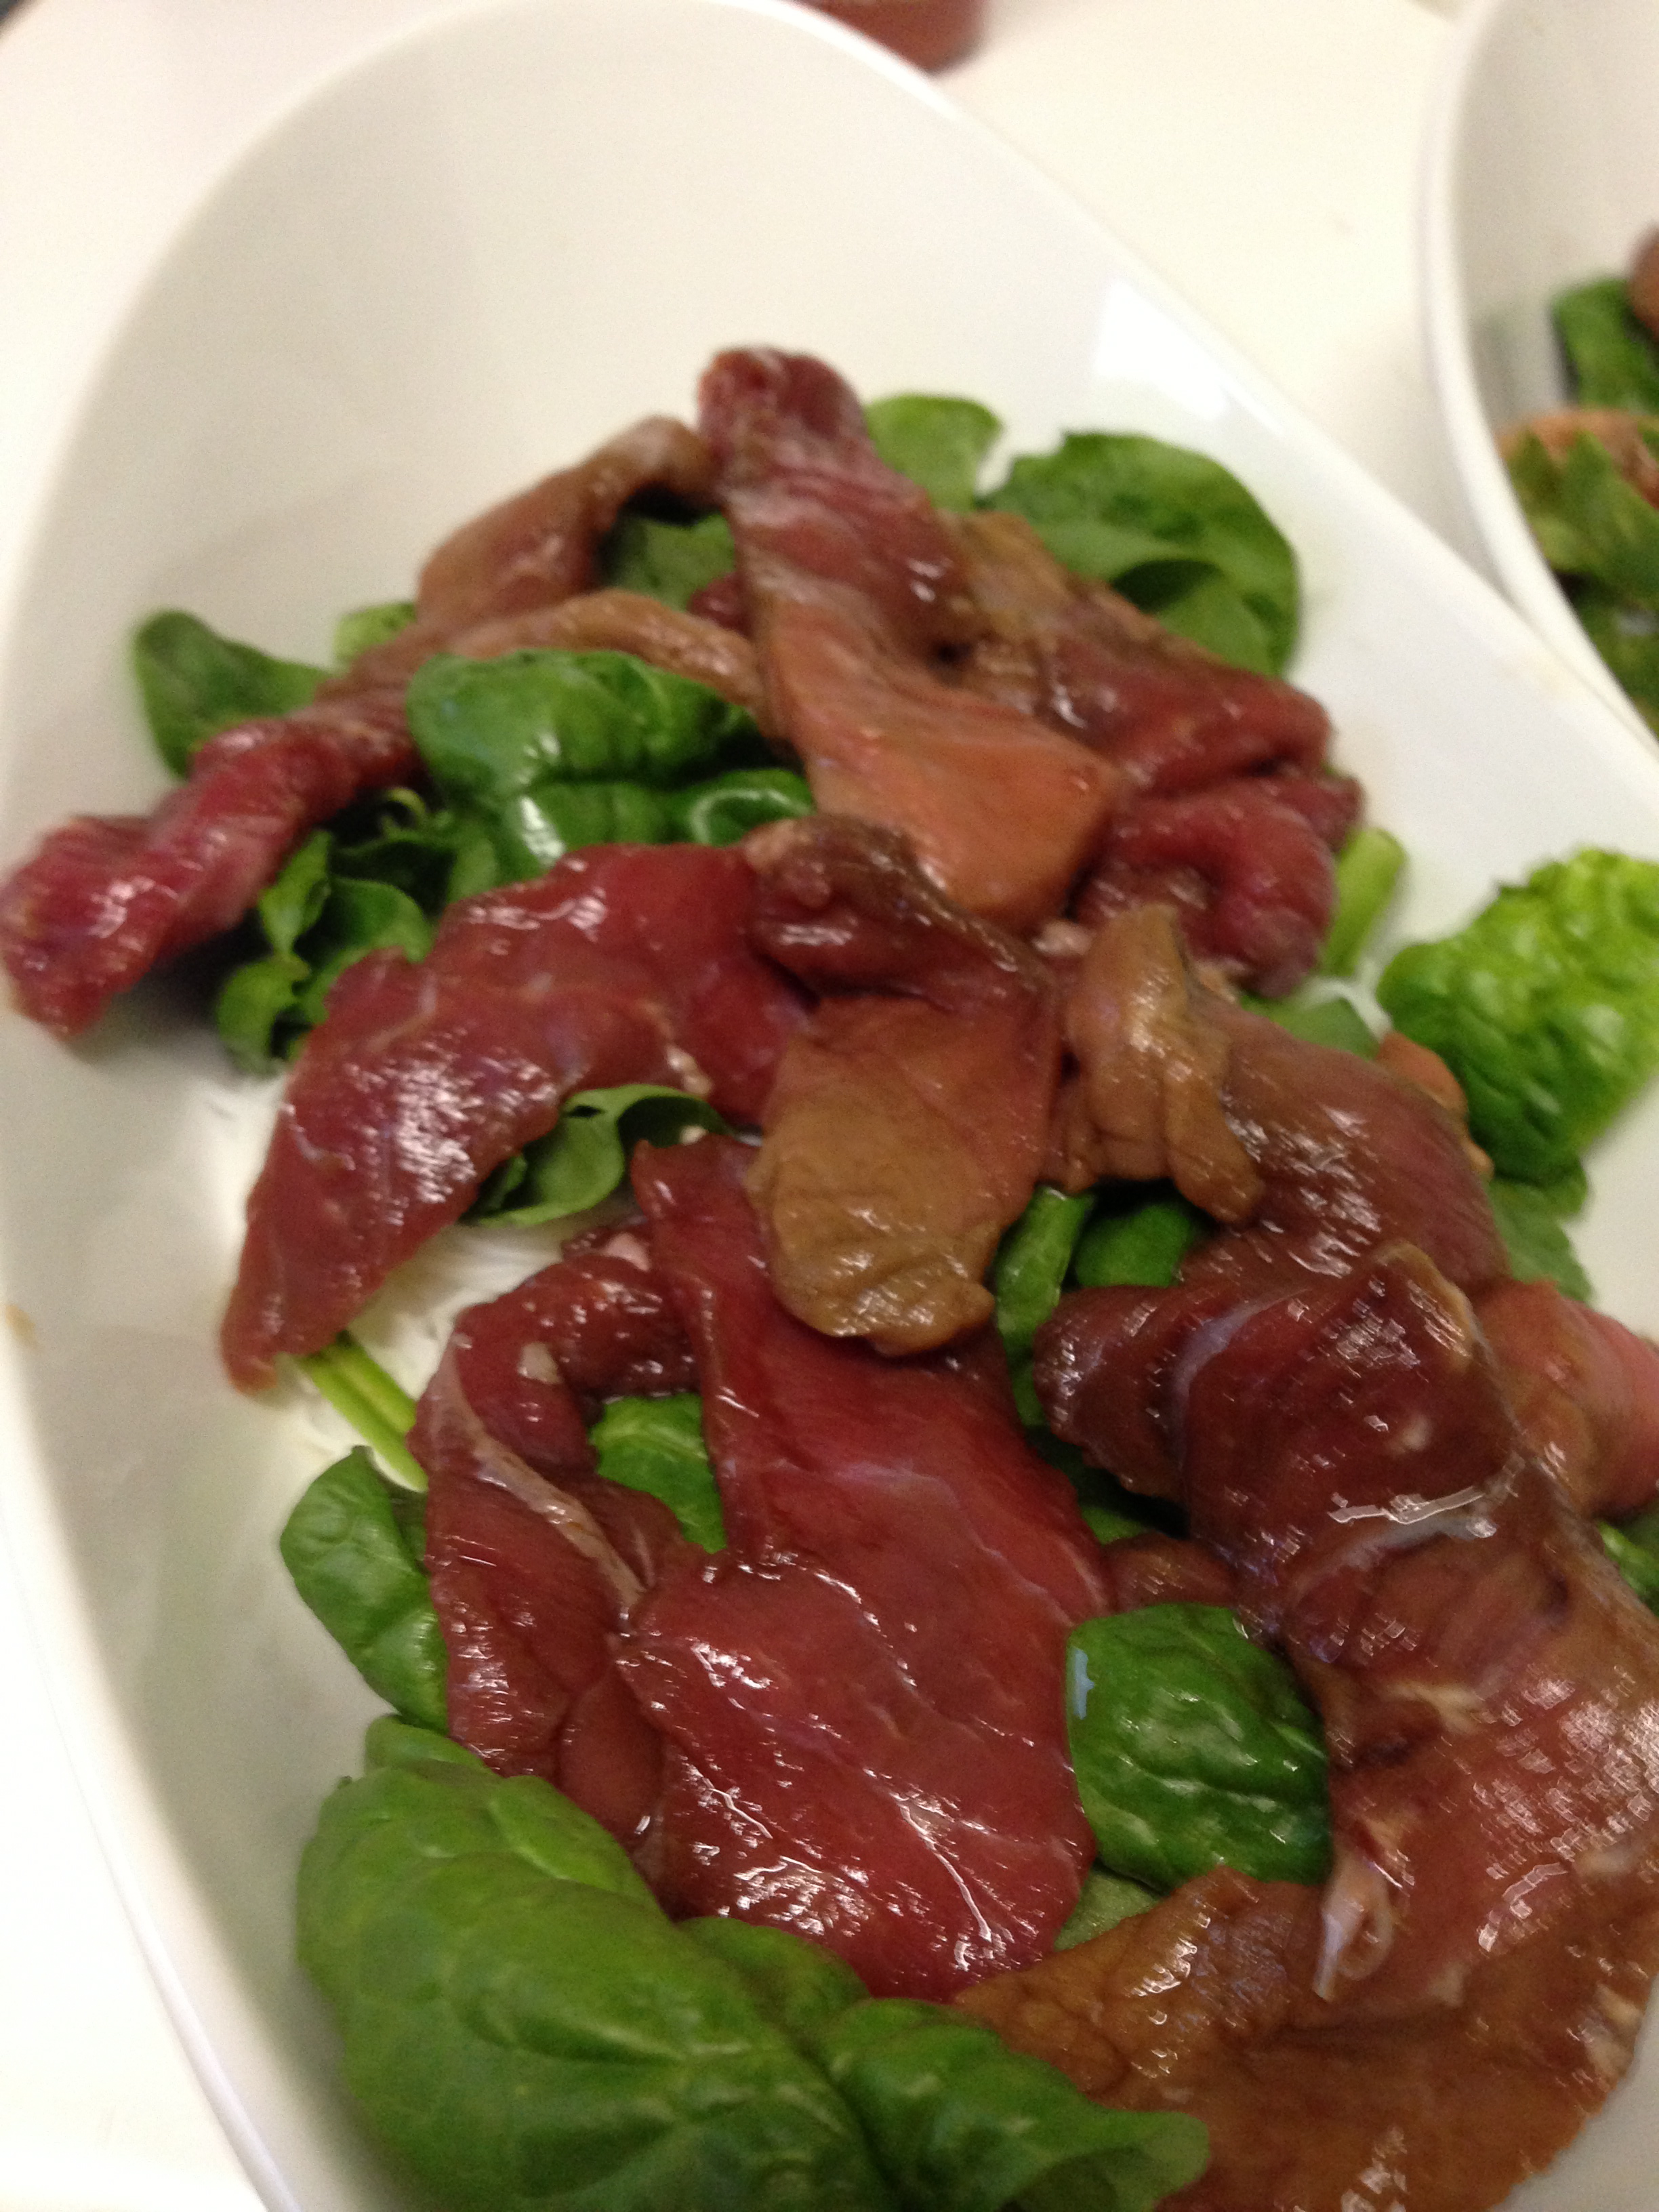
Dinner – Steak with Roasted Purple Potatoes and sautéed broccolini
Day 26:
Breakfast – BLAT “Benedict”… without the egg
Lunch – Italian Chicken Stew (leftover)
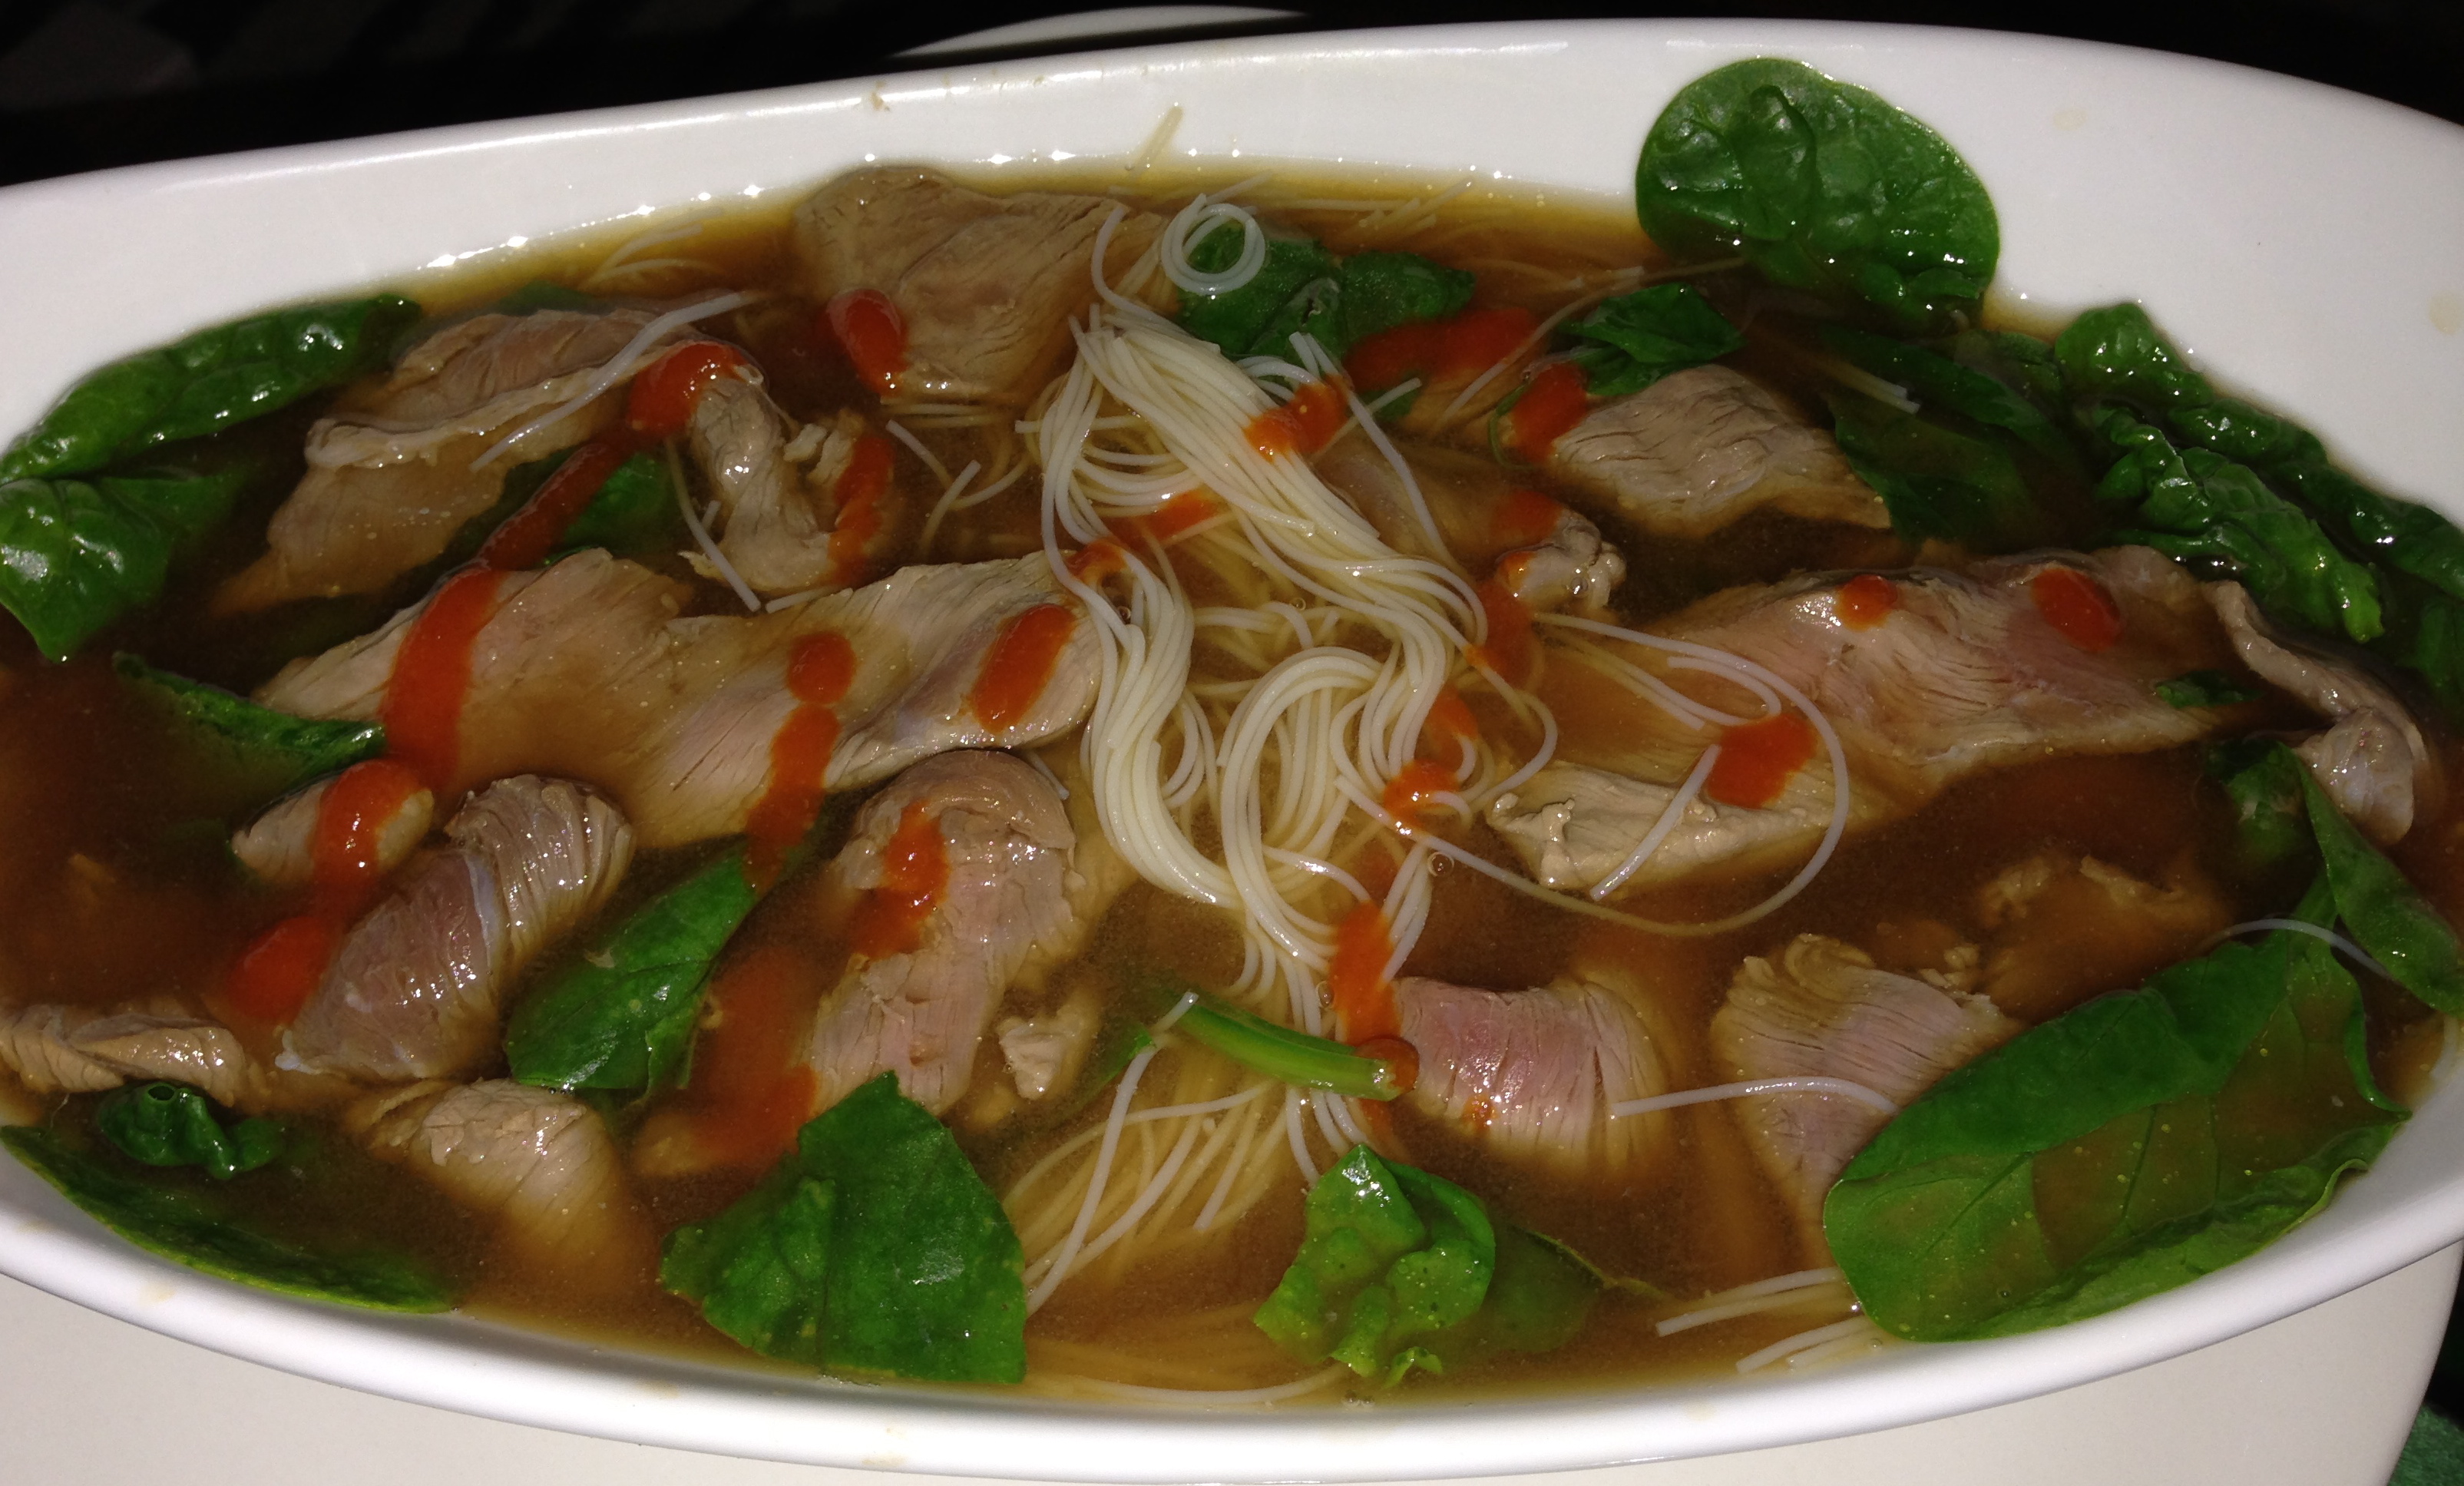
Dinner – Ate out – side salad with grilled chicken, no dressing
Day 27:
Breakfast – BLAT “Benedict”… without the egg
Lunch – Apple with Almond Butter
Dinner – Seared Yellowfin Tuna with Roasted Broccolini
Day 28:
Breakfast – Banana
Lunch – Ate out at a Paleo Bistro
Dinner – Roasted Brussel Sprouts & Purple Potatoes
Day 29:
Breakfast – Pork Hash with mushrooms
Lunch – Apple with Almond Butter
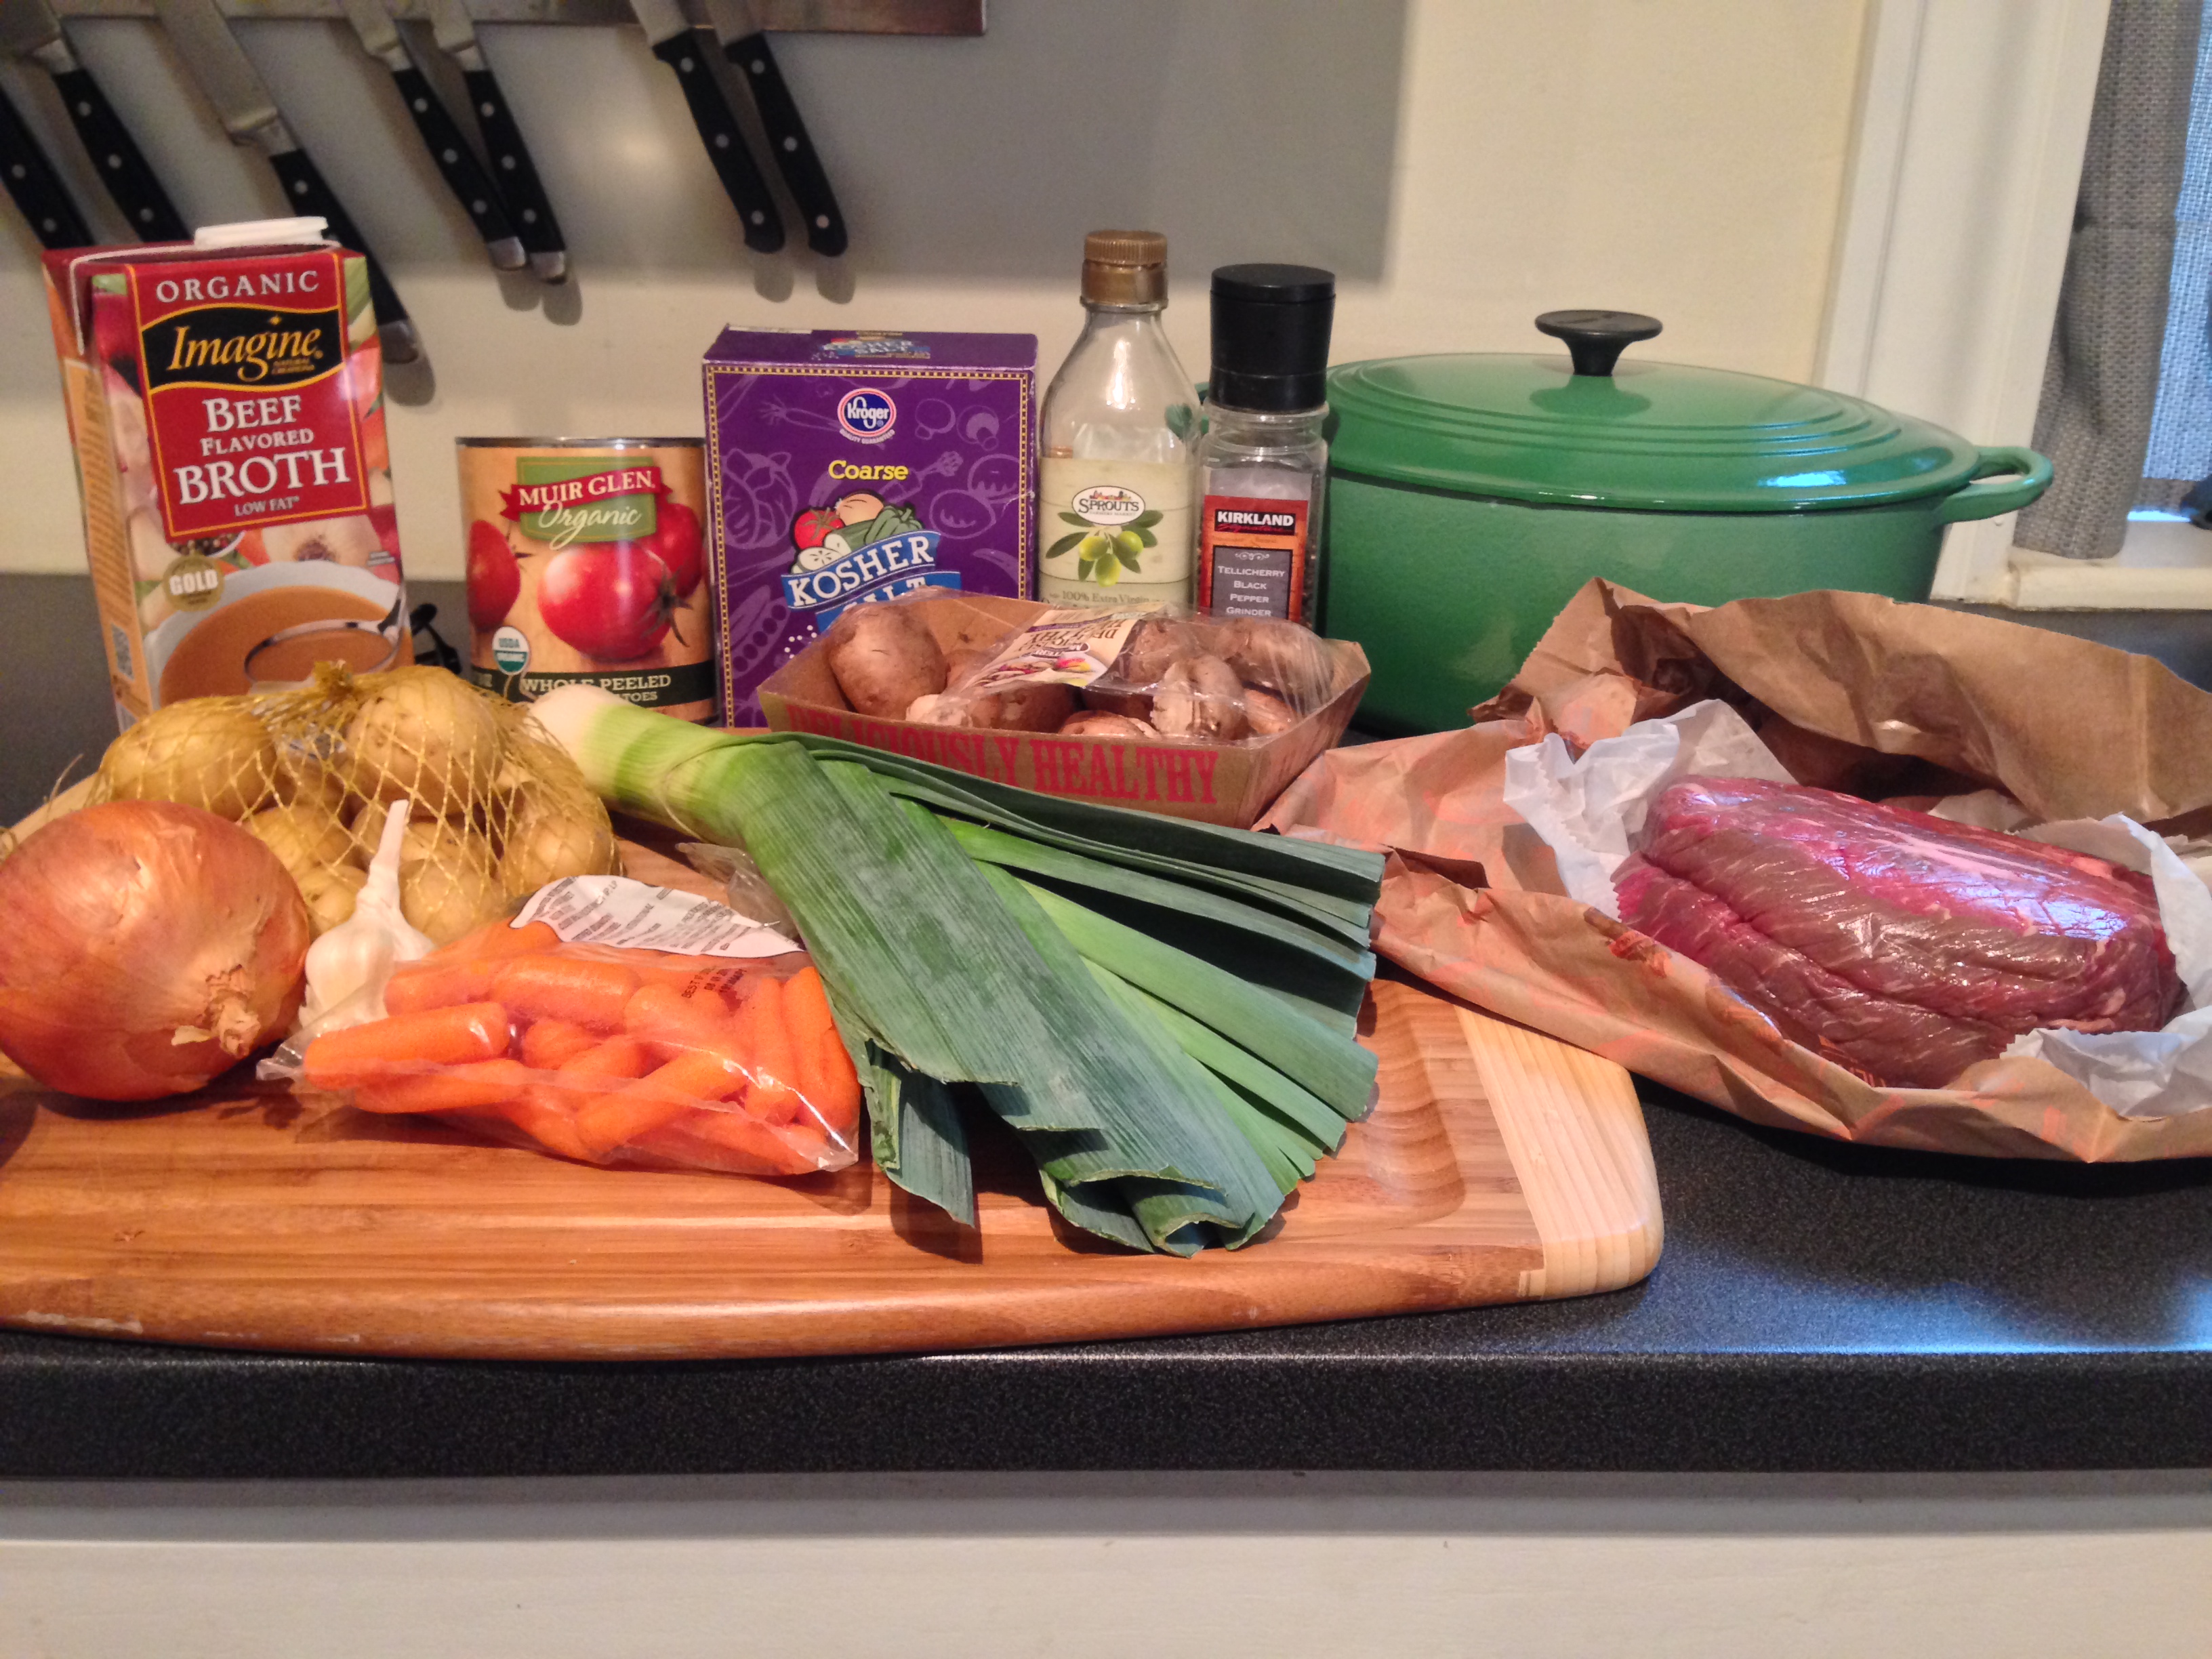
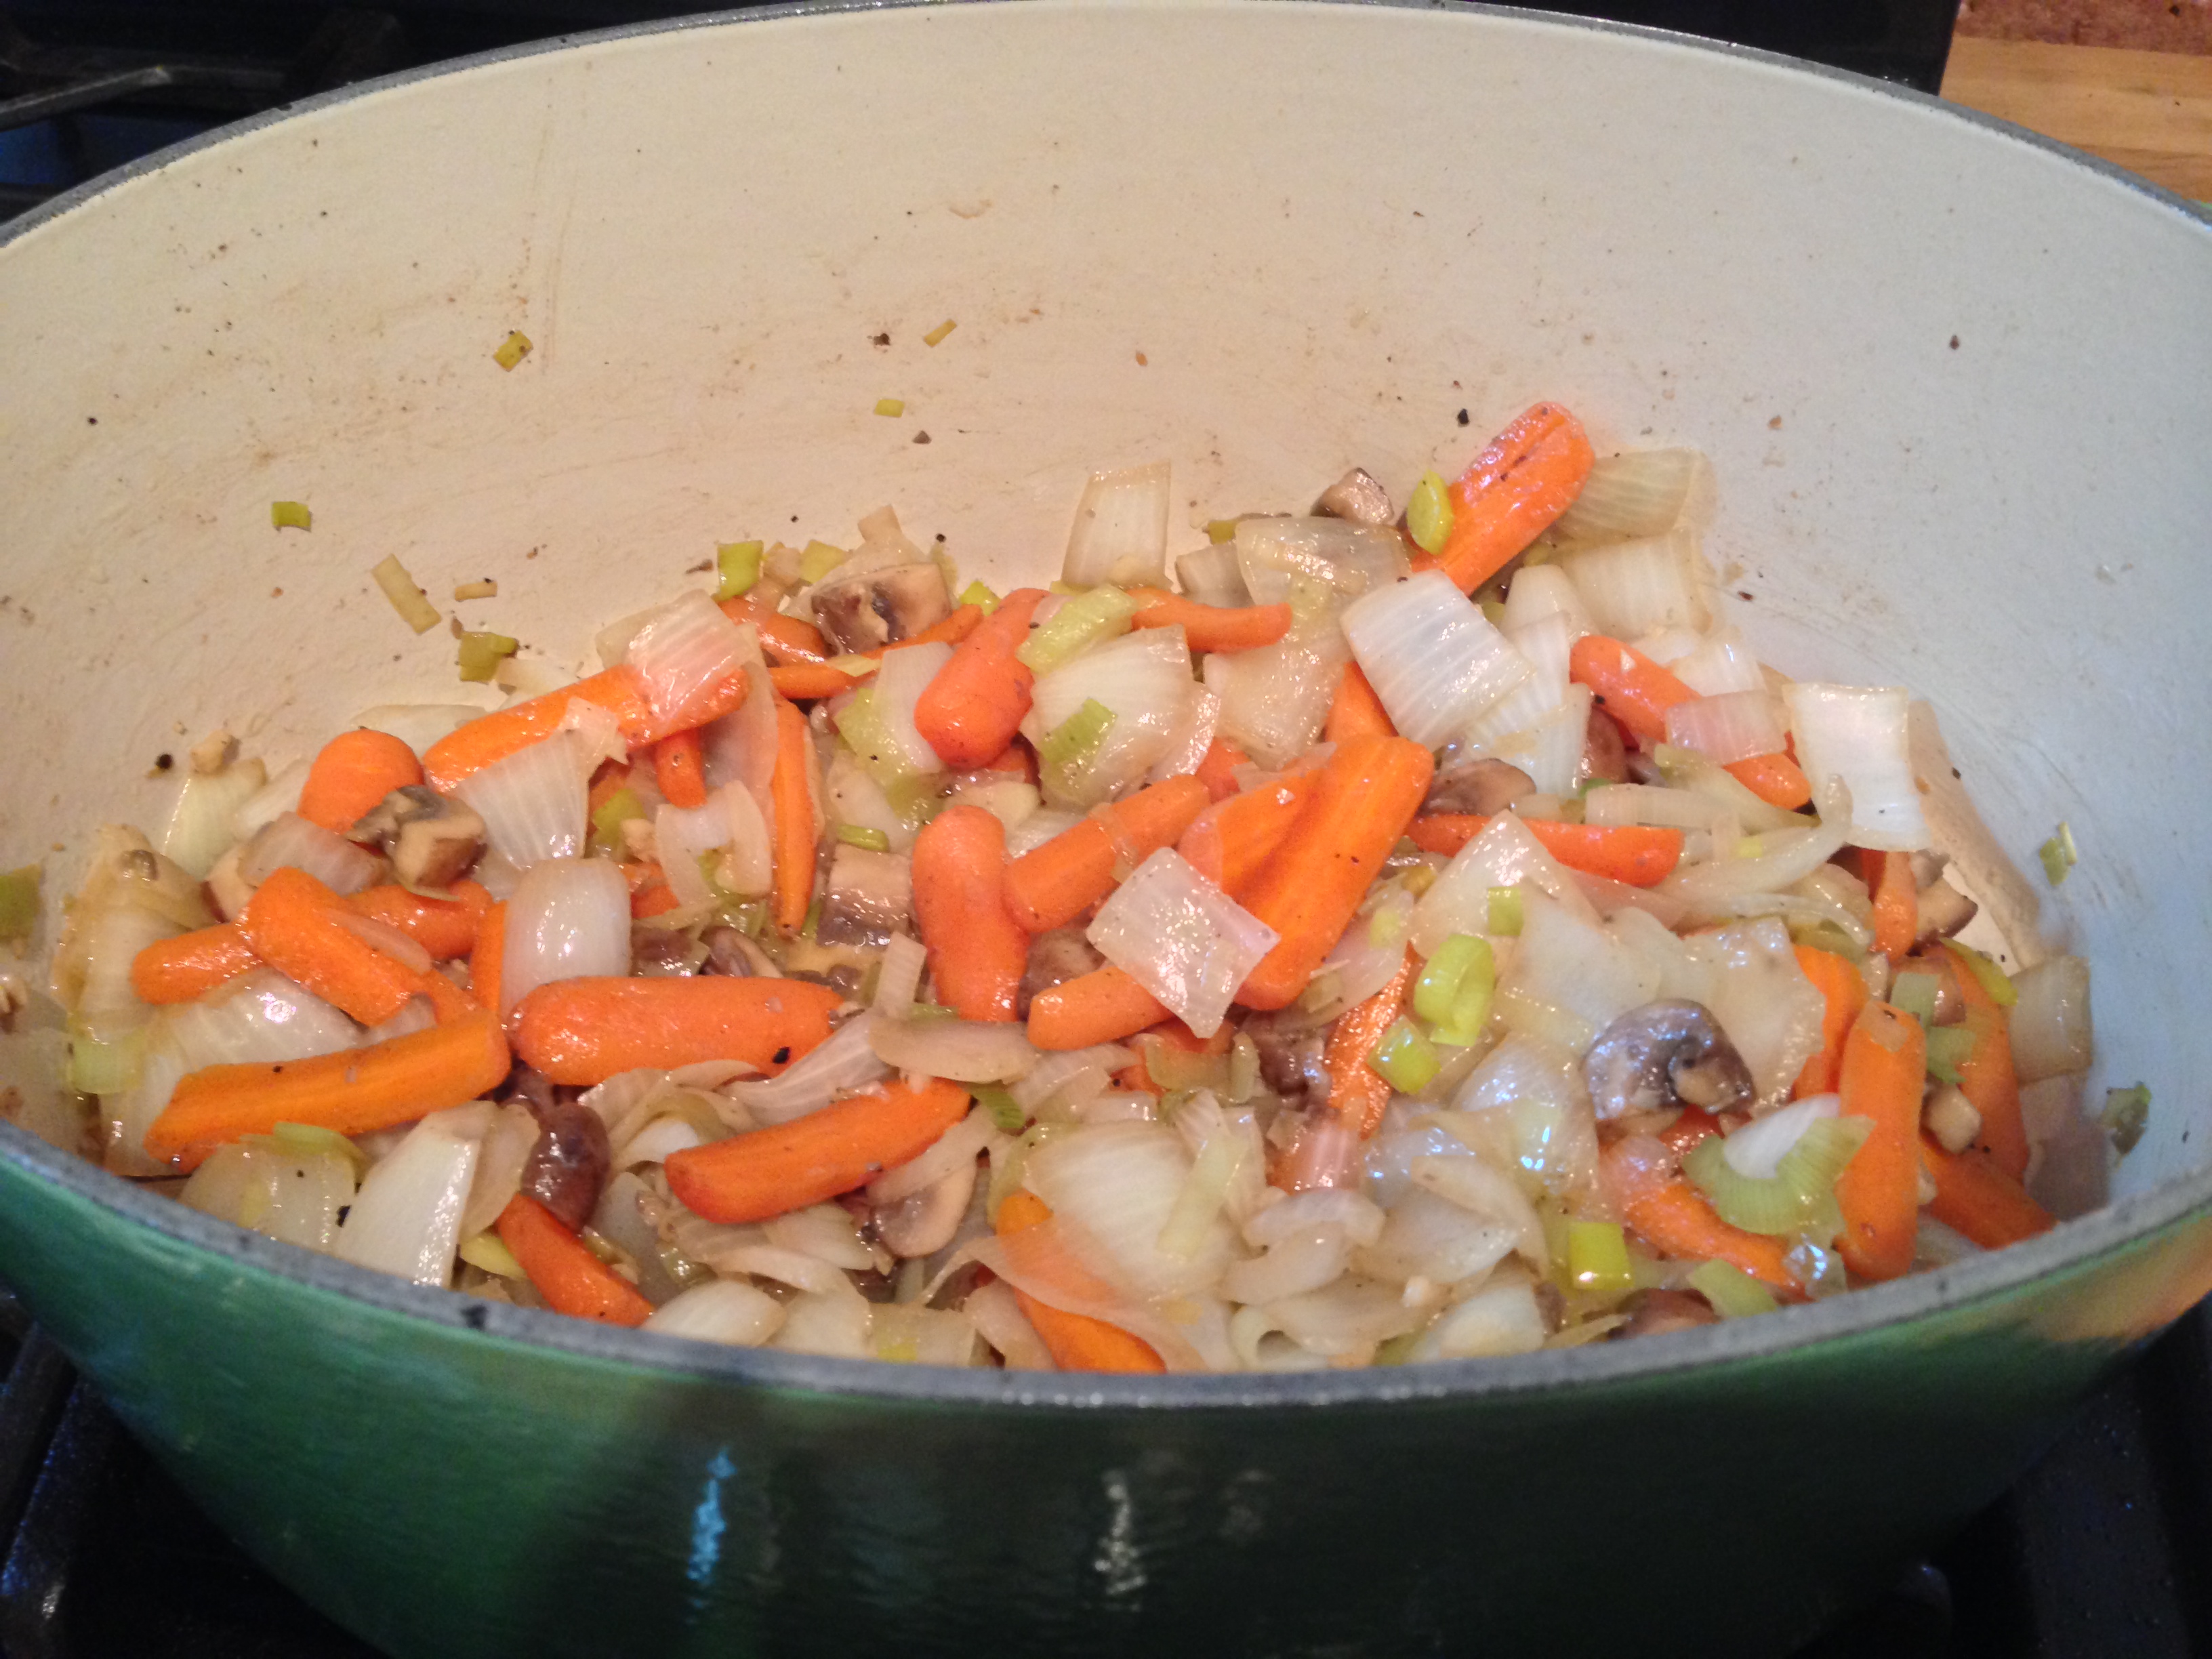
Dinner – Pot Roast Stew
Day 30:
Breakfast – Pork Hash with mushrooms
Lunch – Pot Roast Stew
Dinner – Steak with Roasted Purple Potatoes and sautéed broccolini