Breakfast
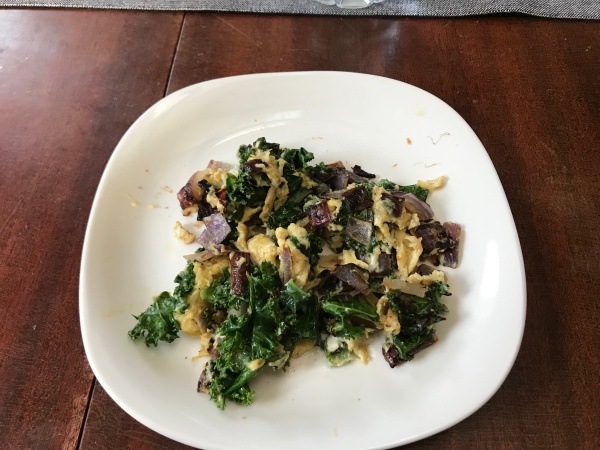
Scramble
1/2 cup red onions, chopped
1 cup curly kale, chopped
2 eggs, scrambled
Decaf coffee with 1 tbsp coconut cream (not creamer, it’s in a can on the Asian Foods aisle)
Sauté the red onions in 1/2 tbsp of butter until soft. Add the kale and sauté until wilted. Scramble the eggs in a bowl and add salt and pepper then add to the pan once the kale is wilted. Stir to integrate everything together and serve immediately once eggs are cooked.
Lunch
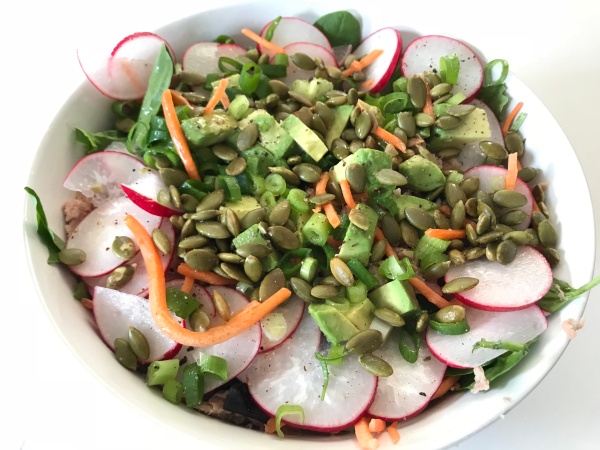
Salad
1 cup mixed baby greens
1/2 cup shredded carrots
1/4 cup thin sliced radishes
1 small avocado, chopped
1 green onion, thinly sliced
3 oz wild caught tuna in spring water
1/4 cup roasted pumpkin seeds
drizzle of freshly squeezed lemon juice
drizzle of sunflower oil
salt & pepper
Put all ingredients in a large bowl and enjoy your salad!
Dinner
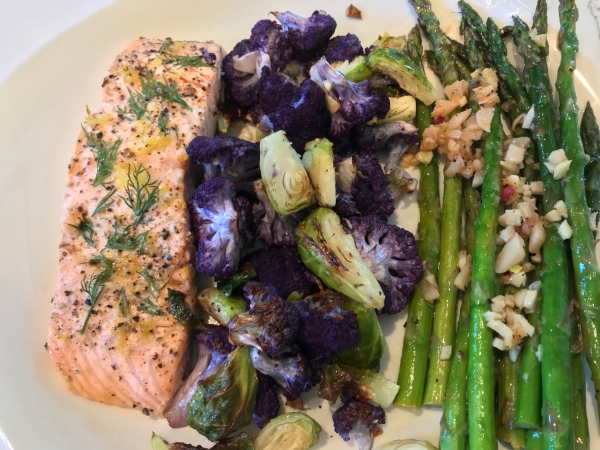
Salmon & Veggies
6 oz lemon-dill salmon
1/2 cup roasted purple cauliflower
1/2 cup sautéed asparagus with lemon, garlic and ginger
1/2 cup roasted Brussel sprouts
Preheat oven to 425.
Cut cauliflower into 1 inch florets and half or quarter Brussel sprouts, mince 2 cloves of garlic. Toss all ingredients in a bowl with a little oil of your choice and salt and pepper. Spread on a baking sheet and roast for 20 minutes.
Rub sunflower oil on the bottom of a baking dish and place salmon filet in dish. Squeeze some lemon juice over the salmon then sprinkle lemon zest and tear some fresh dill to sprinkle over the salmon as well. Add sea salt and a little freshly cracked pepper. Put in the oven for the last 12-15 minutes that the veggies are cooking.
While everything is in the oven, heat a teaspoon of olive oil in a pan over medium heat. Trim the ends off of about 8 asparagus spears and mince 1 clove of garlic and a little fresh ginger root. Once the oil is hot, add asparagus, garlic, ginger, a squeeze of fresh lemon juice and lemon zest to the pan. After a few minutes, add a splash of organic chicken broth to the pan. Sauté until everything is tender, about 8 minutes.